_1782777776334-CjnZ693B.png)
May 4, 2026
What Is the Process of Screen Printing?
If you are ordering custom shirts for a company event, school program, fundraiser, or staff uniforms, one question usually comes up early: what is the process of screen printing, and why is it still one of the most common decoration methods for apparel? The short answer is that screen printing pushes ink through a mesh screen onto fabric, one color at a time, to create a durable, high-visibility design. The longer answer matters if you are comparing print methods, managing a budget, or trying to choose the right setup for your order.
Screen printing has been around for a long time because it works. For many bulk apparel orders, it offers strong color, dependable wash durability, and a cost structure that makes sense once quantities increase. It is not the right choice for every graphic or every order size, but when the artwork and quantity line up, it is hard to beat for branded apparel that needs to look clean and consistent.
What is the process of screen printing on apparel?
The process starts with artwork and ends with cured ink bonded to the garment. Between those points, there are several production stages that affect print quality, turnaround, and cost.
At a basic level, the printer prepares the design, separates each color, creates a screen for each ink color, sets up the press, prints the garments, cures the ink with heat, and checks the finished pieces for consistency. That sounds simple, but each step has a job to do. If one part is rushed or handled poorly, the final result can suffer.
Step 1: Preparing the artwork
Every good print starts with usable art. The design needs to be reviewed for size, placement, color count, line thickness, and fabric compatibility. A logo that looks sharp on a website may need adjustments before it can print well on cotton or blends.
This is also where colors are separated. In traditional screen printing, each color in the design usually requires its own screen. A one-color front print is straightforward. A four-color logo with fine detail takes more setup and tighter registration. That is one reason pricing often changes based on the number of ink colors in the artwork.
Artwork prep is where practical decisions get made. Sometimes a design can be simplified without losing impact, which can lower setup complexity and keep the project more affordable. For business apparel, school spirit wear, and event shirts, that kind of adjustment often makes sense.
Step 2: Creating the screens
Once the artwork is approved, screens are made for each color. A screen is a mesh stretched tightly over a frame and coated with a light-sensitive emulsion. The separated design for that specific color is then used to expose the screen.
After exposure, the unneeded emulsion is washed away, leaving open mesh in the shape of the design. Ink will pass through those open areas during printing, while the blocked areas keep ink from reaching the garment.
This screen-making stage is a major reason screen printing works best when there is enough quantity to justify setup. The prep takes time before the first shirt is even printed. That upfront labor gets spread out more efficiently over larger runs.
Step 3: Setting up the press
After the screens are ready, they are loaded onto the printing press. Each screen must be aligned so the colors land in exactly the right position on the garment. This alignment is called registration.
For a simple one-color design, setup is fairly fast. For multi-color prints, registration takes more care. Even a slight shift can make text look fuzzy or outlines appear off-center. Good setup is what separates a clean professional print from one that looks rushed.
The printer also selects the right ink type and platen setup for the garment. Cotton tees, performance fabrics, fleece, tote bags, and other materials do not all behave the same way. The press settings, off-contact, squeegee pressure, and curing needs may change depending on what is being printed.
Step 4: Printing the garments
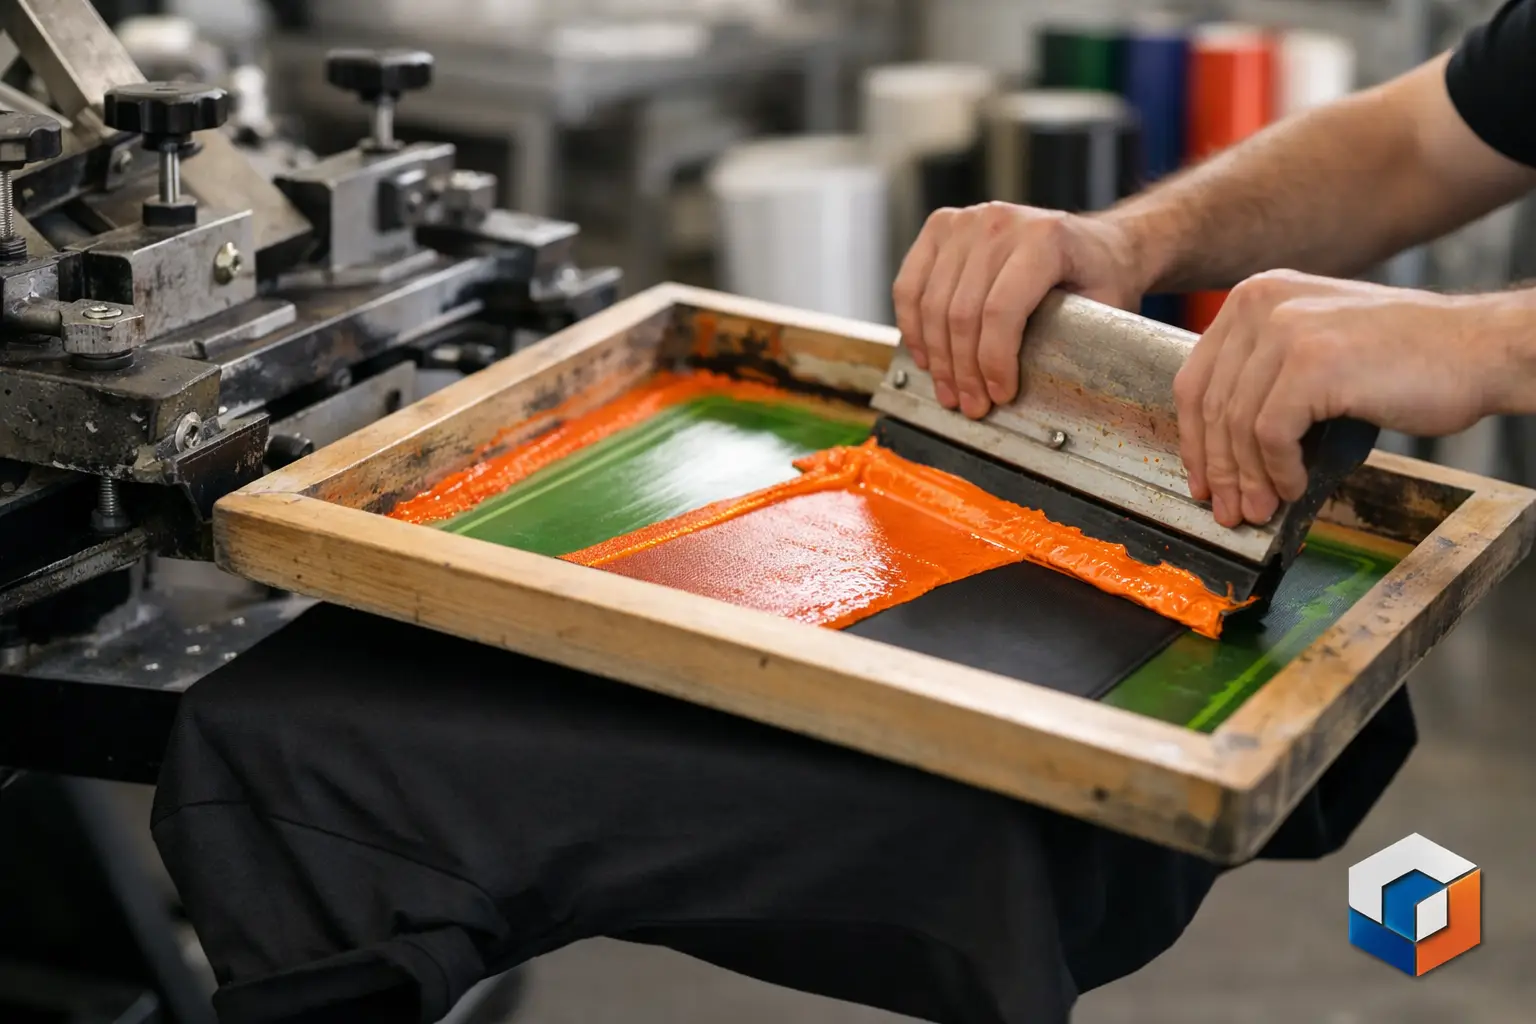
This is the part most people picture when they think about screen printing. A garment is loaded onto the press platen, and ink is pushed through the mesh using a squeegee. Each screen applies one color, one pass at a time, until the design is complete.
On a manual press, an operator moves the screens and garments by hand. On an automatic press, the machine handles much of the movement, which improves speed and consistency on larger jobs. Either way, the goal is the same: even ink coverage, accurate color placement, and repeatable quality across the run.
Screen printing is known for bold, opaque color. That is one reason it performs well for logos, team names, event graphics, and high-visibility branding. On dark garments, an underbase may be printed first so the top colors stay bright. That adds another step, but it improves the final look.
Step 5: Curing the ink
Printing is not finished when the ink hits the shirt. The ink has to be cured with heat so it bonds properly to the fabric. If curing is off, the print may crack, fade early, or wash out faster than it should.
Most shops use a conveyor dryer to bring the ink up to the required temperature for the correct amount of time. This part of the process is technical but essential. A shirt can look great right off press and still fail later if the ink was not cured correctly.
For buyers, this is one of the less visible but more important quality checkpoints. Long-term wear matters, especially for uniforms, staff apparel, school shirts, and promotional items that represent your brand over time.
Step 6: Finishing and quality check
After curing, the garments are inspected. The print should be placed correctly, colors should match the approved design, and the ink should feel and perform as expected for that garment type.
Depending on the order, finishing may also include folding, sorting by size, or organizing by department, team, or event need. For organizations placing larger orders, this kind of production control matters just as much as the print itself. Clean execution makes distribution easier once the order arrives.
Why screen printing is still widely used
If you are comparing methods, it helps to know why screen printing remains a go-to option. The biggest advantage is efficiency on larger quantities. Once setup is complete, production moves quickly, and the cost per piece becomes more attractive.
It is also a strong choice for simple to moderately complex graphics that need solid, durable color. Company tees, construction shirts, volunteer apparel, school spirit wear, nonprofit event shirts, and branded giveaway apparel often fit this model well.
That said, screen printing is not always the best answer. If your design has photo-quality gradients, a very high number of colors, or variable names and numbers, another method may make more sense. DTG and DTF can be better fits in certain situations, especially when artwork complexity or order structure changes the equation.
What affects the final result?
When people ask what is the process of screen printing, they are often really asking what determines whether the finished product looks good. Several factors matter at once.
Artwork quality is the first one. Clean vector art usually produces better results than low-resolution files. Garment choice is another. The same design can print differently on ringspun cotton than on a polyester blend or heavyweight sweatshirt.
Color count affects both setup and budget. Print location matters too. A left chest logo is simpler than a large full-front print with multiple colors. And of course, the experience of the print team makes a difference. Screen printing is a production method, but there is still skill involved in getting consistent results.
When screen printing makes the most business sense
For many organizations, screen printing is less about decoration theory and more about practical use. If you need apparel that helps staff stand out, builds team identity, supports an event, or keeps your branding visible in public, screen printing does that efficiently.
It is especially useful when you want consistency across a larger group. Matching shirts for a company crew, school club, volunteer team, or promotional event look more organized and more credible when the print is clear and uniform. That kind of consistency has real value beyond the garment itself.
For buyers in Salt Lake City and the surrounding Utah market, it also helps to work with a vendor that can compare screen printing with other decoration methods instead of forcing one option onto every project. Affordable-Printing takes that practical approach because the right method depends on your design, garment, quantity, and deadline.
A simple way to think about the process
Screen printing is a setup-heavy, production-efficient method that applies ink through prepared mesh screens to create durable designs on apparel. The process includes artwork prep, color separation, screen creation, press setup, printing, curing, and quality control. Each step affects cost, appearance, and performance.
If your goal is affordable branded apparel that looks sharp, holds up well, and works across a larger run, screen printing is often a strong option. The best next step is not guessing - it is matching your artwork and order needs to the method that gives you the best result for the budget.
Ready to start your order?
GET A FREE QUOTE